
Reupholstering Dining Chairs
Do you have any chairs you want to change out the fabric on? It's a lot easier than you may think! Not every chair is the same but the general rules apply. This is dining chair is a slip seat, meaning it is built to rest into a frame and can be lifted. Not literally lifted, you do have to use a screw driver or drill to unscrew it. A power drill will be much easier than a screw driver.

Items needed:
Screw driver/ power drill
Fabric
Fabric scissors
Measuring tape
Staple gun and staples

Let's talk about fabric.

I decided on an indoor/outdoor fabric to be very durable. If you have kids this may be the best way to go! Not to mention its very reasonably priced. I linked what I used as well as a few similar options. As for the amount needed; I would say if you are very meticulous you could use 1/2 yard or so per chair, but to be safe always order extra! I reupholstered 4 chairs and ordered 4 yards. I had a lot of excess and would have been fine with 3 but it made me feel better to have it in case. But to be sure measure your seat and add 4-6". This will tell you how much fabric you need.
Different people may tell you different ways to reupholster a seat but I am going to tell you what worked best for me. I tried it a few other ways and didn't get as clean of a look. Before I get to step 1 there is the removal of the seat. So flip your chair over and find where it is being screwed in. Use your power drill and unscrew each screw. Hold on to these for putting them back together! In this type of slip seat it will pop right out. Other types of seats that are screwed in will also pop off easily.

STEP ONE
Now that the seat is off, you're going cut your fabric and position it. Lay the cushion face down with the backside up. Cut the fabric to allow for 4-6" on each side.

STEP TWO
This is where some people may use different techniques but for me I started with the corners. Pull very tight and start stapling down. I did this to all 4 corners first to get them snug.
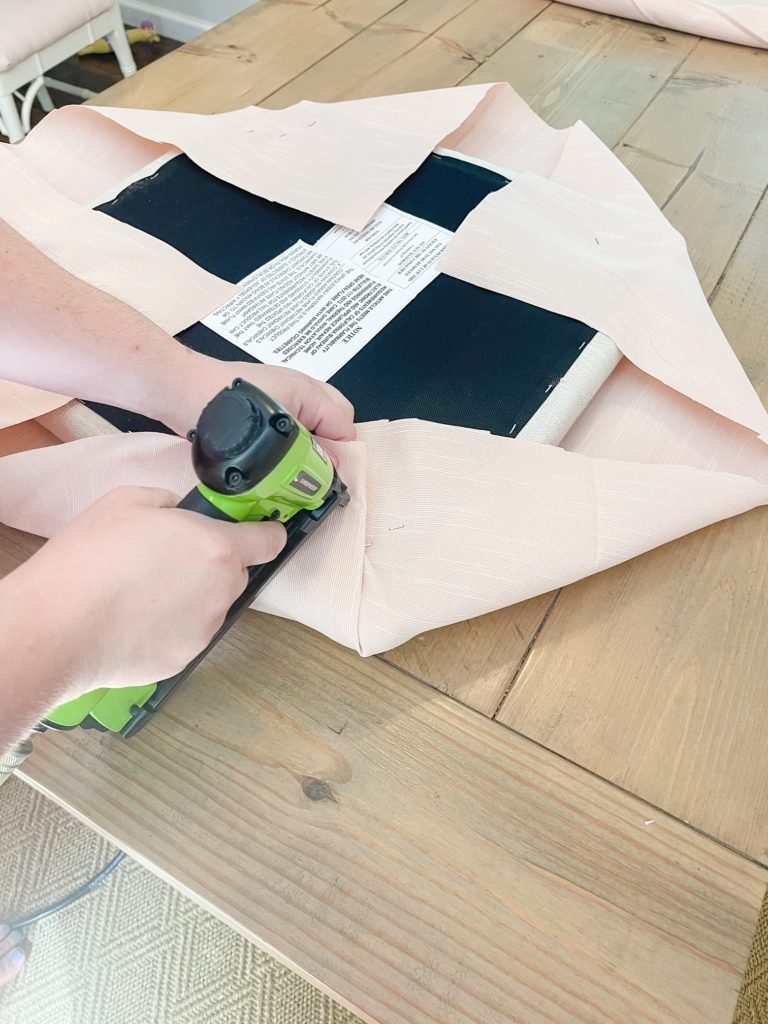
STEP THREE
Now that all 4 corners are stapled, start with the sides. Pull them tight and fold over to create a snug pull. You can also cut excess material to make it easier. The corners will start to have a ballerina slipper effect so that it looks crisp and lays flat.

STEP FOUR
Cut off excess material (if you did not already) and screw it back on to your chair. You can see in this photo how the corners look smooth and pulled tight.
It is really quite simple and actually harder to explain than to do! lol. Once you start your brain kicks into puzzle thinking and helps you along. I promise you can handle it! And the best part is you can always remove it. Staples are not forever so if you mess up or change your mind on the fabric down the road you can start over!
It really gives the room a fresh new look in a matter of an hour or so. Do you feel confident to give it a try? I have faith in you! If you have any questions please let me know. Or if you do give this a go, tag me so I can see and share your project!

