
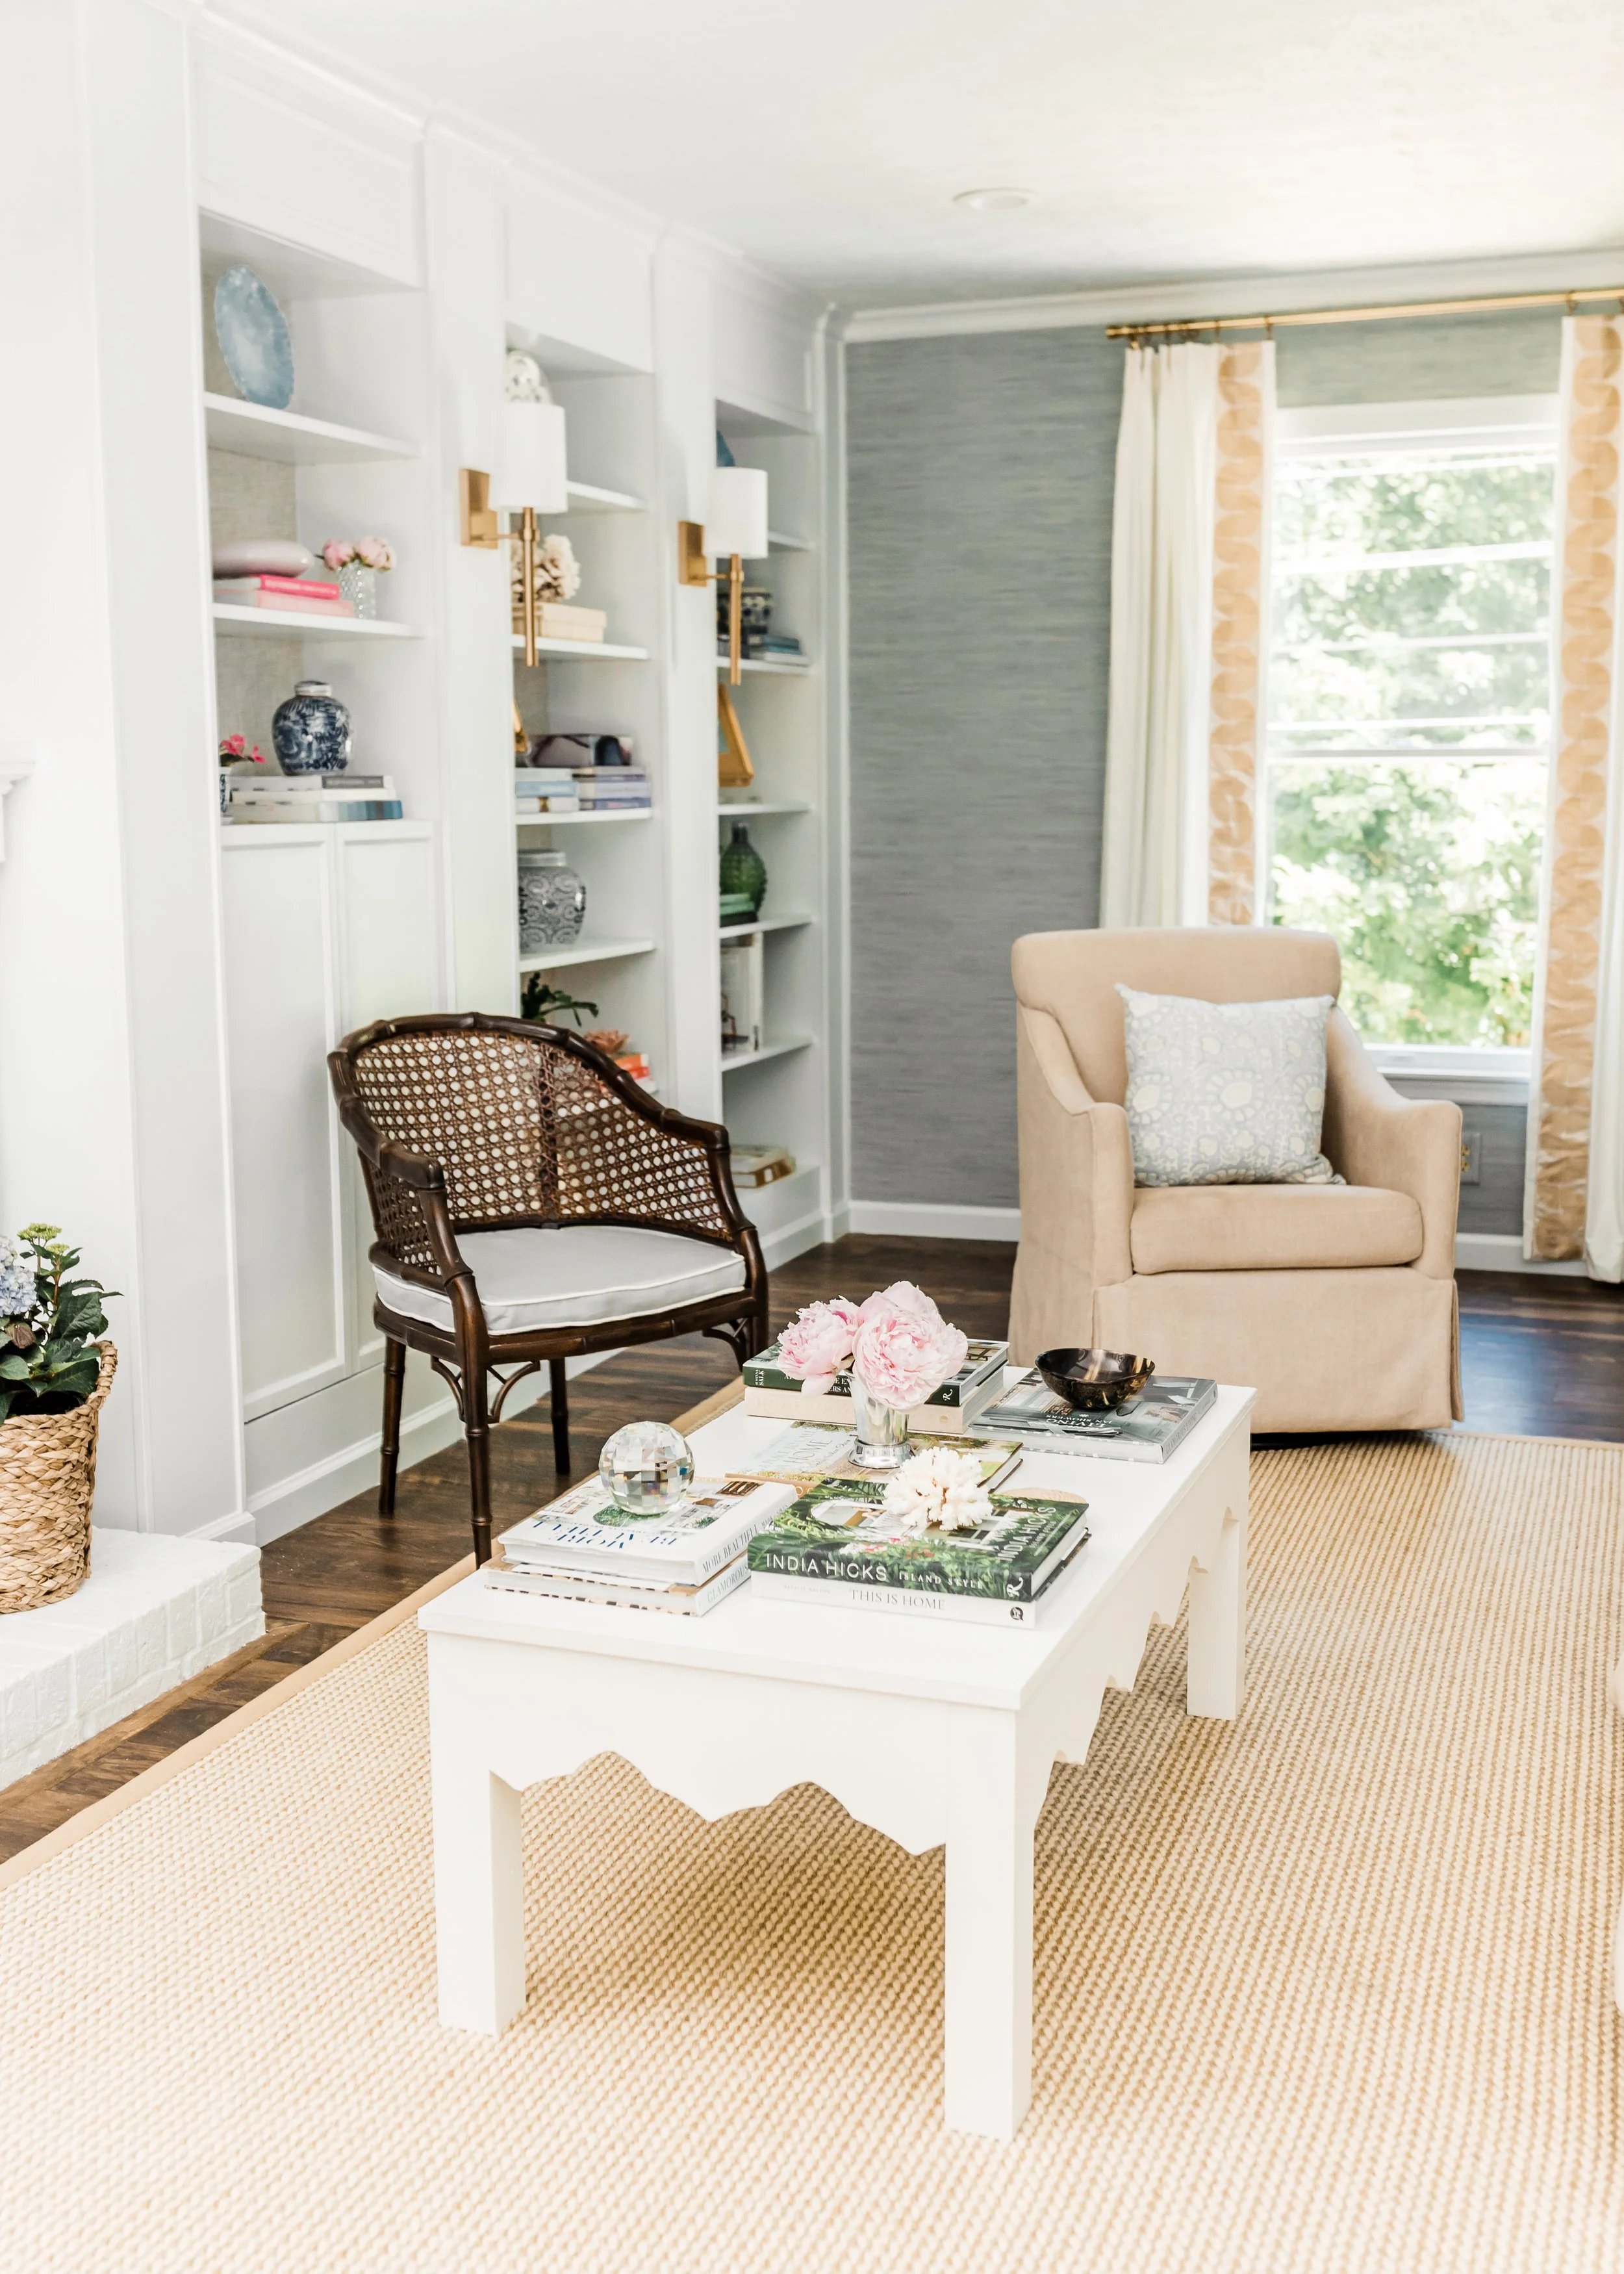
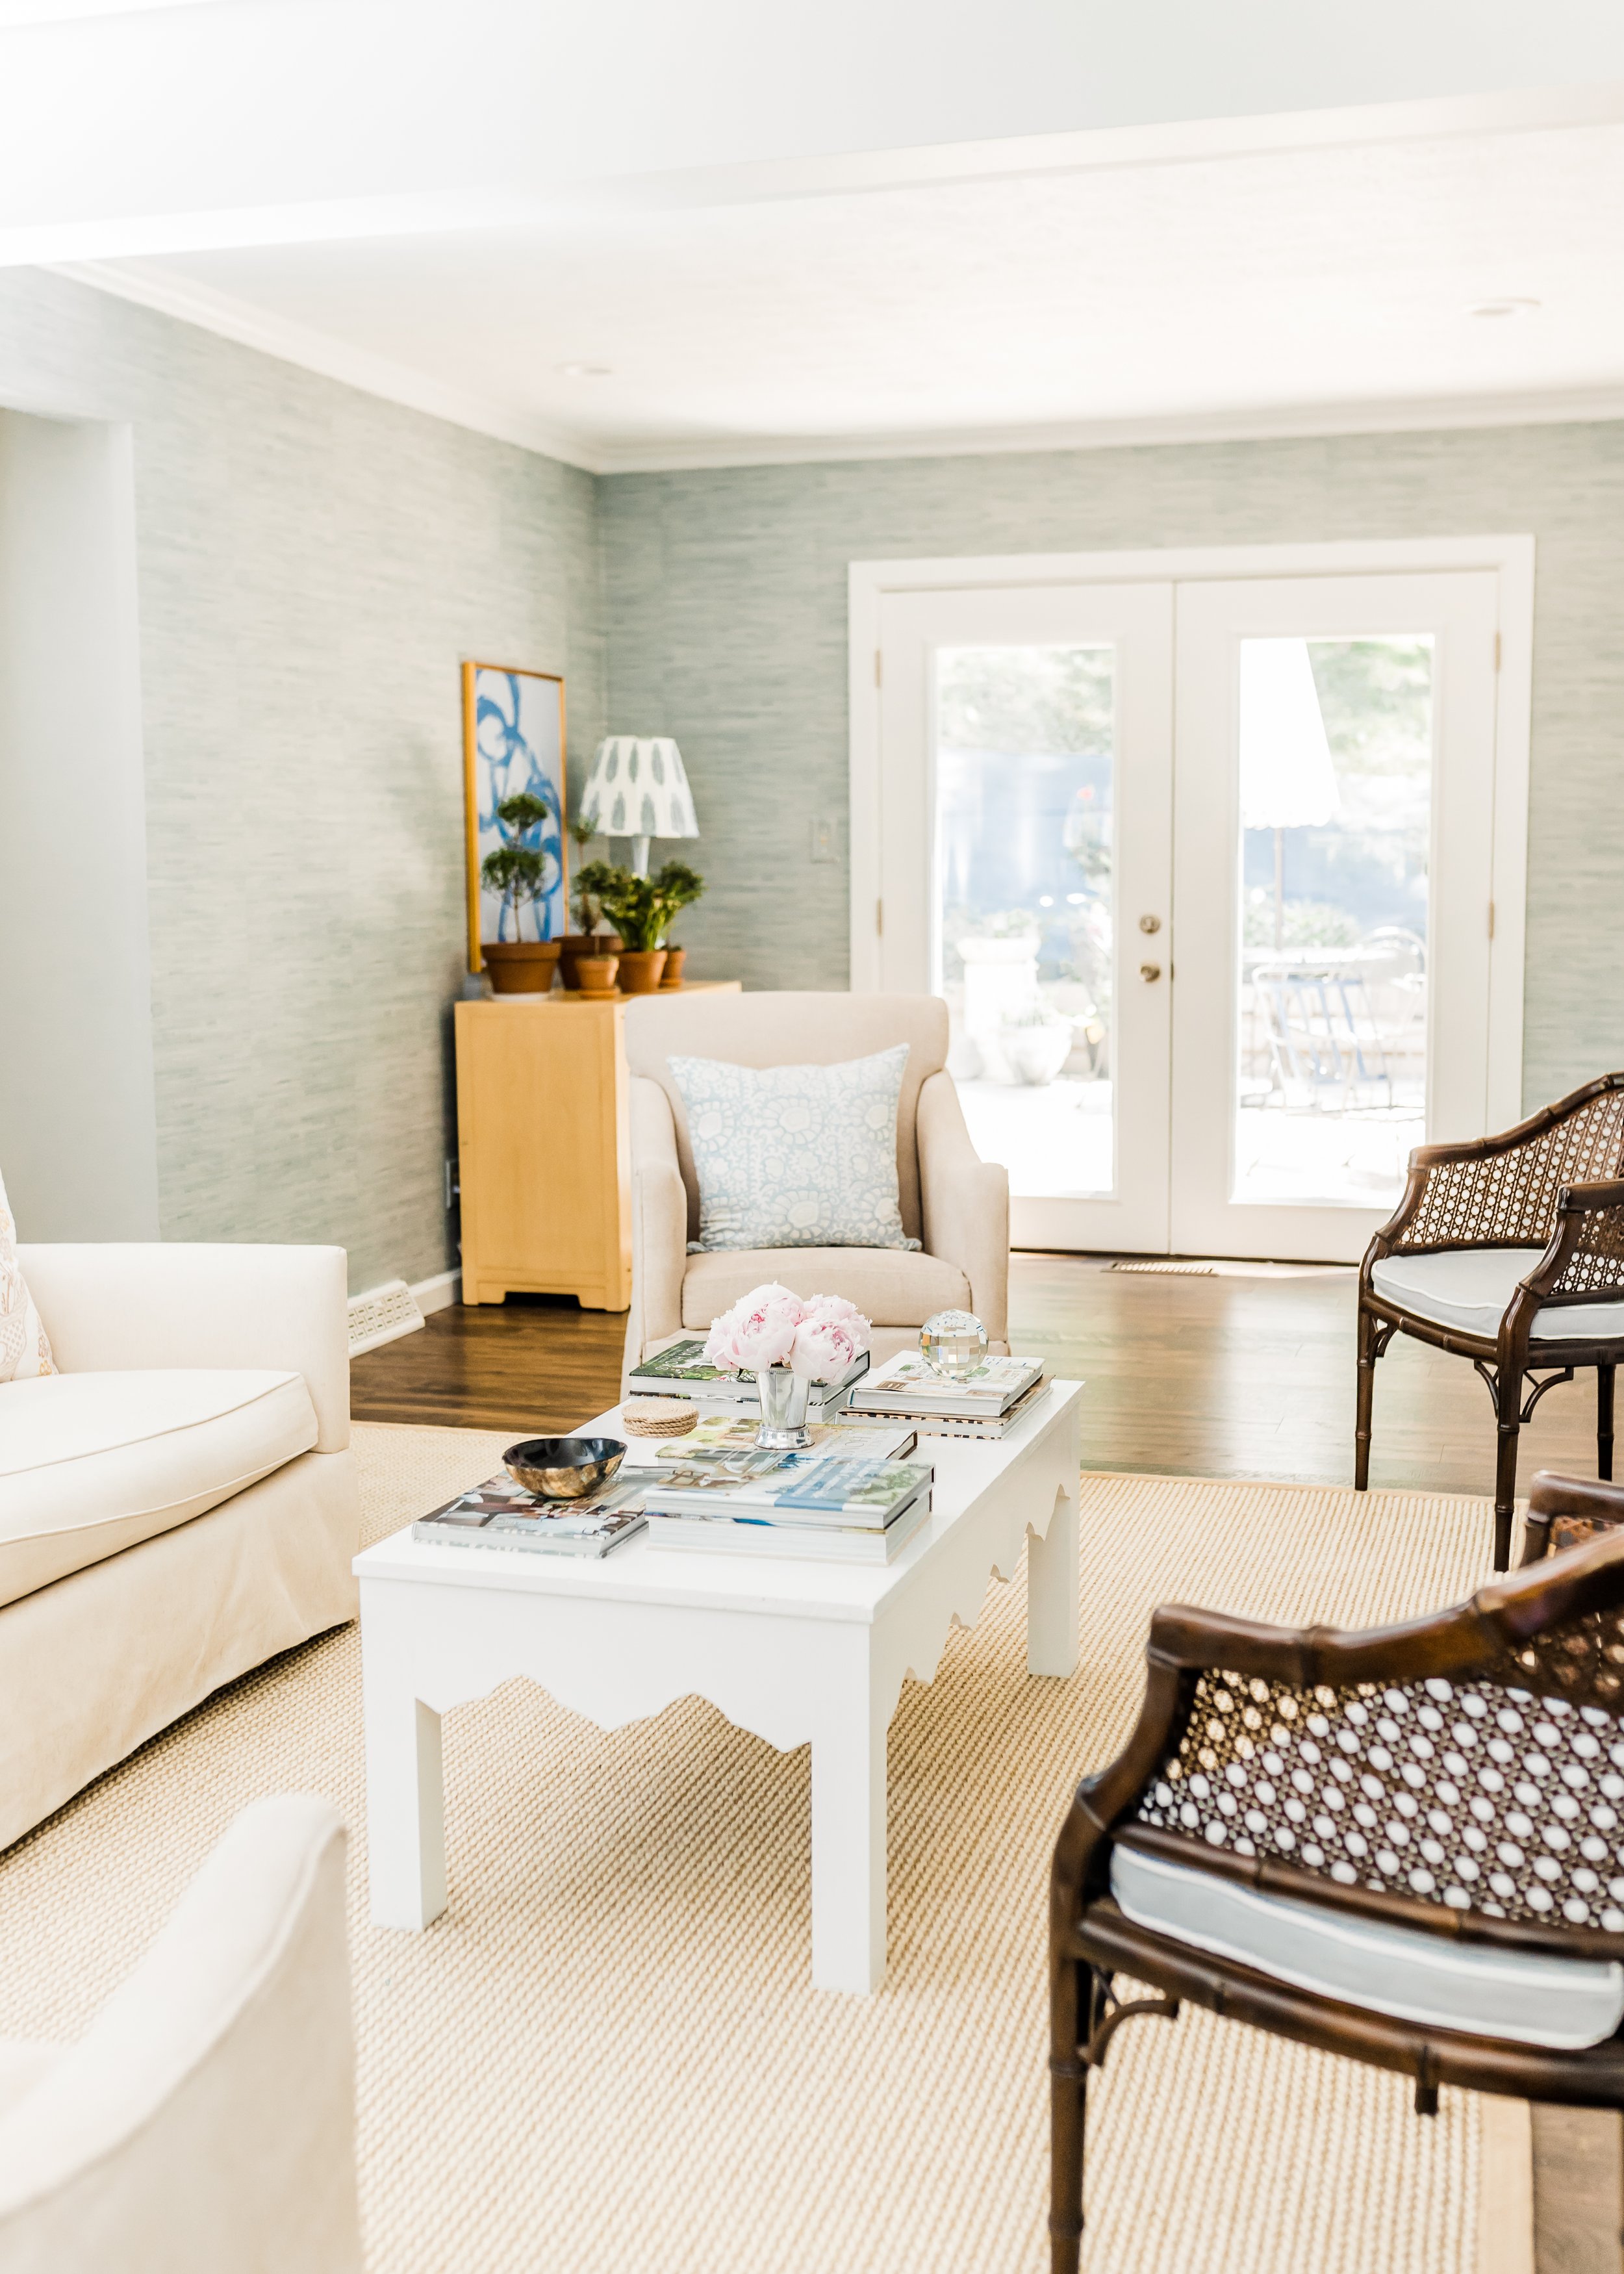
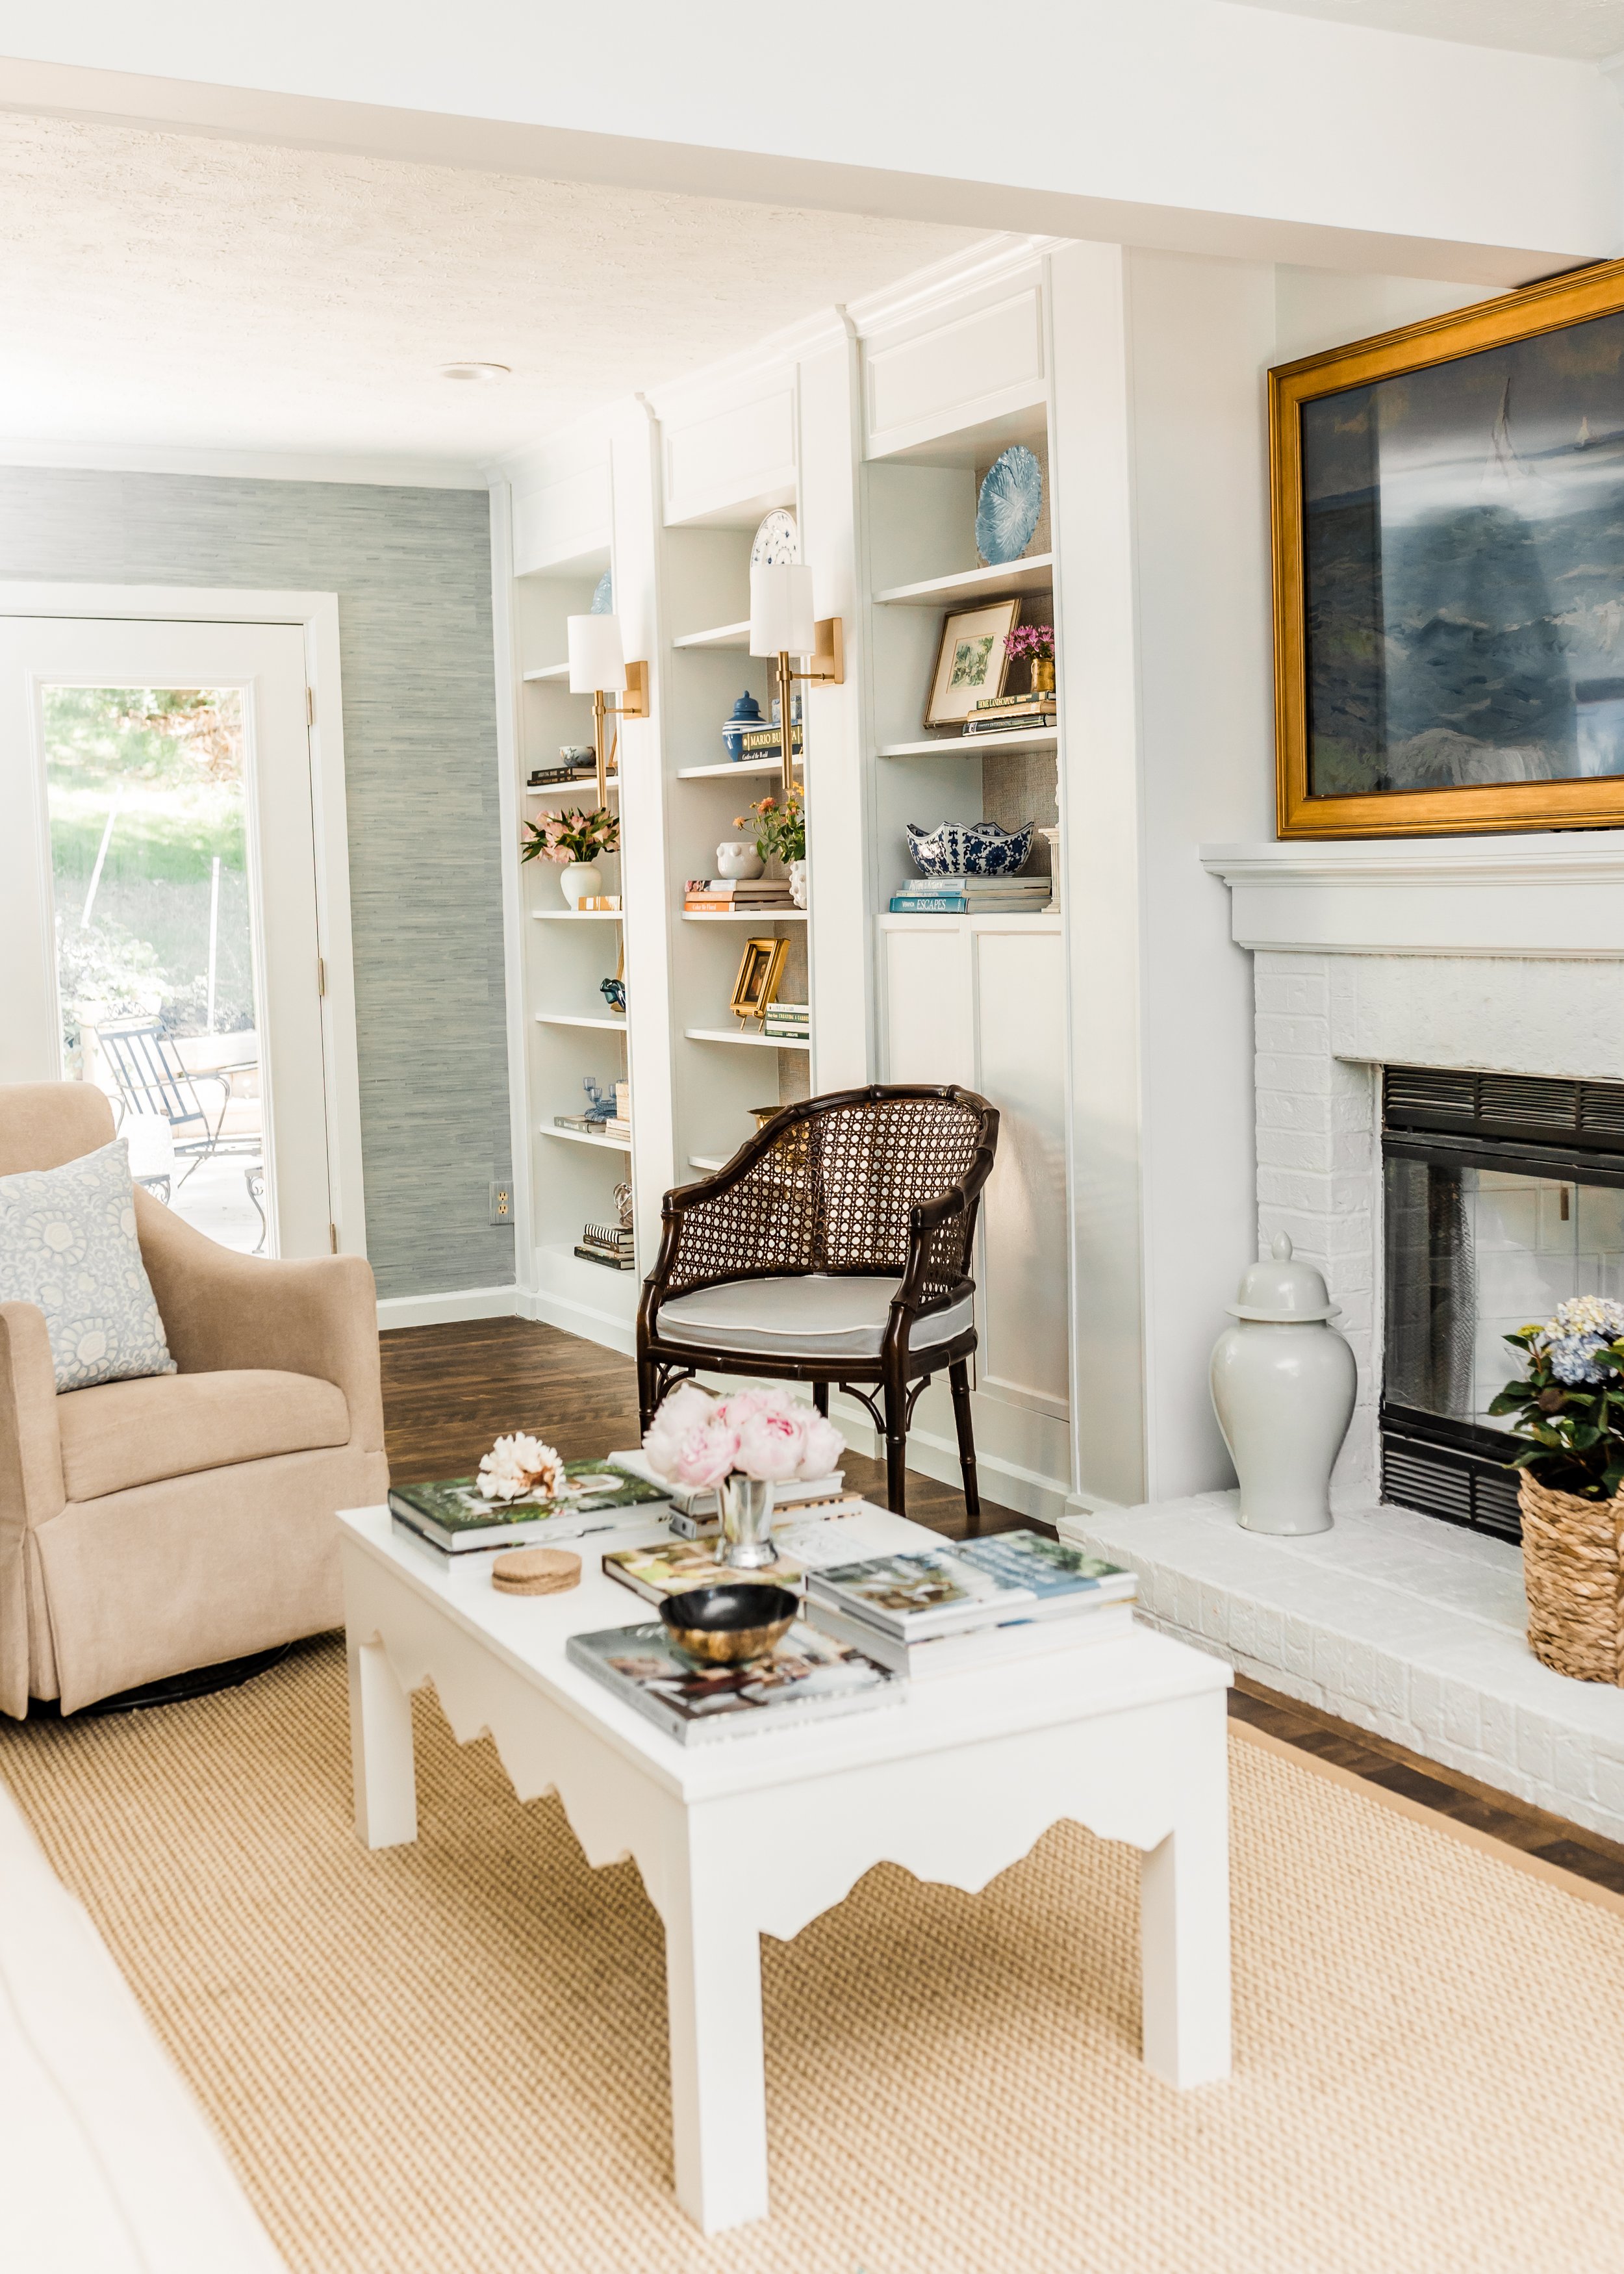
Designer Dupe Coffee Table DIY
I am really excited to share this post with you. I revealed this table about a month ago and so many of you have asked for a tutorial. When I first saw the designer version of this table I fell in love with it! It was the perfect piece for our living room and I needed it. But when I saw the price tag, I couldn't justify spending that. I knew we could make something super similar and for a 1/10 of the cost. So we started to brainstorm and I searched for the perfect trim for the scallop edge. That was the hardest part- finding one I loved. But I did and I linked it and everything you need for this project below!

Materials Needed:

If you are following my measurements of 24" x 44" rectangular table, you will need:
1 plywood piece
1 set of the 2 x 2 legs
3 pieces of the scallop trim
I also linked some alternative scallop trim I also loved!
Step 1: Cut your wood
Cut the 2 x 2 wood posts into 16.25 inch pieces. You will need 4 for the legs. Then you will cut the plywood sheet to 2 ft wide by 44 inches long.
Next you will cut the scallop trim pieces. For the 2 long sides you will need 38.5" BUT you need to make sure you cut an even amount of off both sides to match the pattern. *If you don't you won't have full scallops!* The short side is 18.5", you need 2 of these and will follow the same as above to get a matching pattern.

STEP 2: DRILL POCKET HOLES
On the ends of each scallop trim board, you will drill 2 pocket holes using your kreg jig. To do this you will need to align the board on the jig, clamp it and drill the holes. Repeat on both sides of all 4 pieces.

STEP 3: ATTACH TRIM TO THE LEGS
Clamp the leg and the scallop trim together, aligning the top of the leg with the very top of the trim piece. Once clamped together, take the 1 inch screws (they are linked above) and place them inside the previously drilled holes from the step above. Then use the power drill to screw into place. Repeat on all 4 sides.
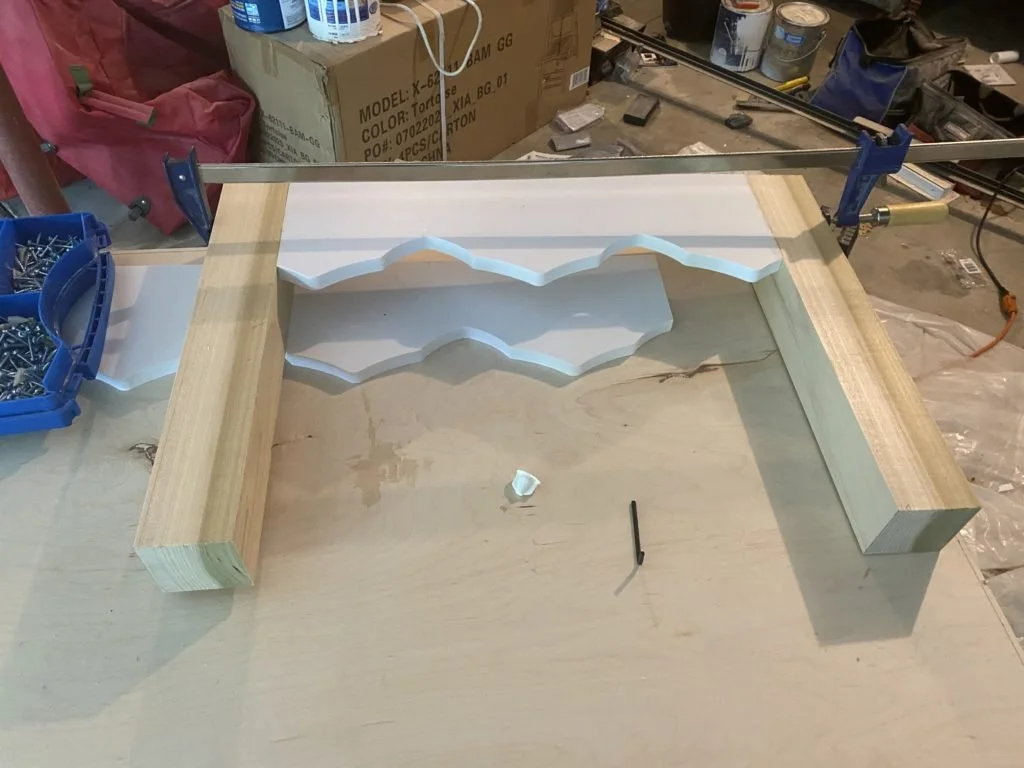
As you work, you will begin forming the base. Pictured here is one end.

STEP 4: ADD THE TOP
Grab the wood glue and apply to the top of the base. Use the plywood top and set on top of the base. Make sure to leave a .25" overhang on each side before placing pressure. Use wood clamps or something heavy to set on each corner to apply pressure on the wood. Let it sit for 24-48 hours until secure.
Step 5: Paint Prep
Use sander to sand the table smooth. Make sure to pay attention to the edge of the top and any joints where trim meets to sand down to make them level. If you are unable to get a smooth level seem, you can use caulking to help fill.
Then use a primer and prime the entire table.
Step 6: Paint
I used SW Snowbound in high gloss. You can obviously use any color or finish you want but I wanted a smooth and shiny finish.
That's it! I know you can handle making this yourself! If you do make it please post and tag me so I can see and share it!
Thank you for reading!